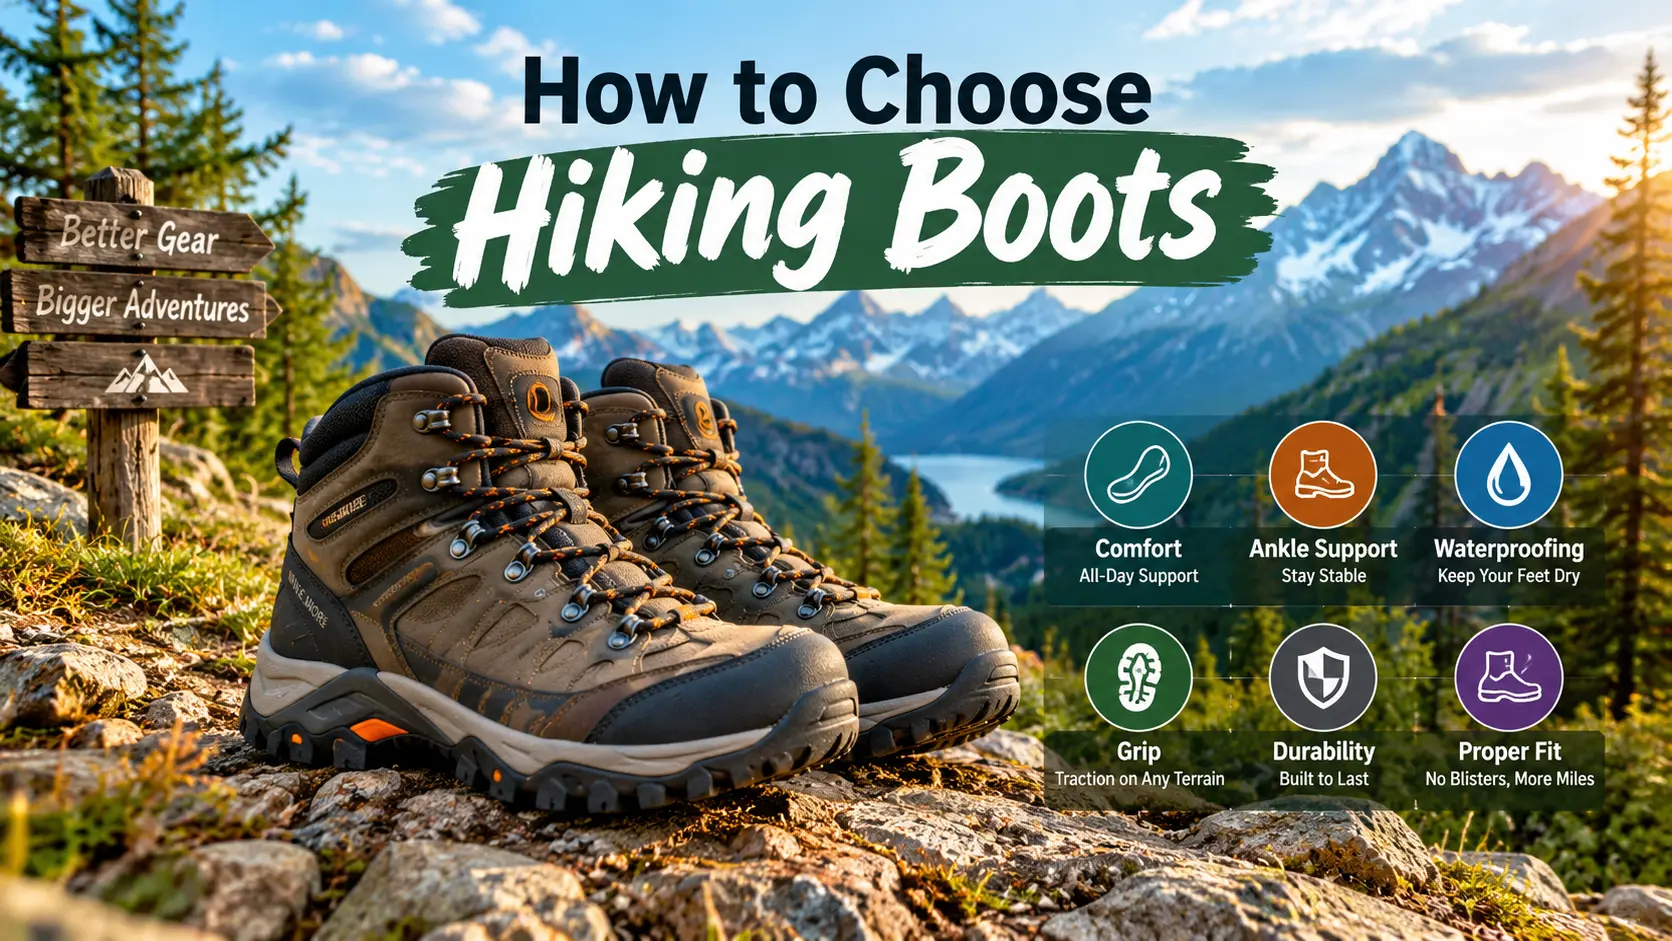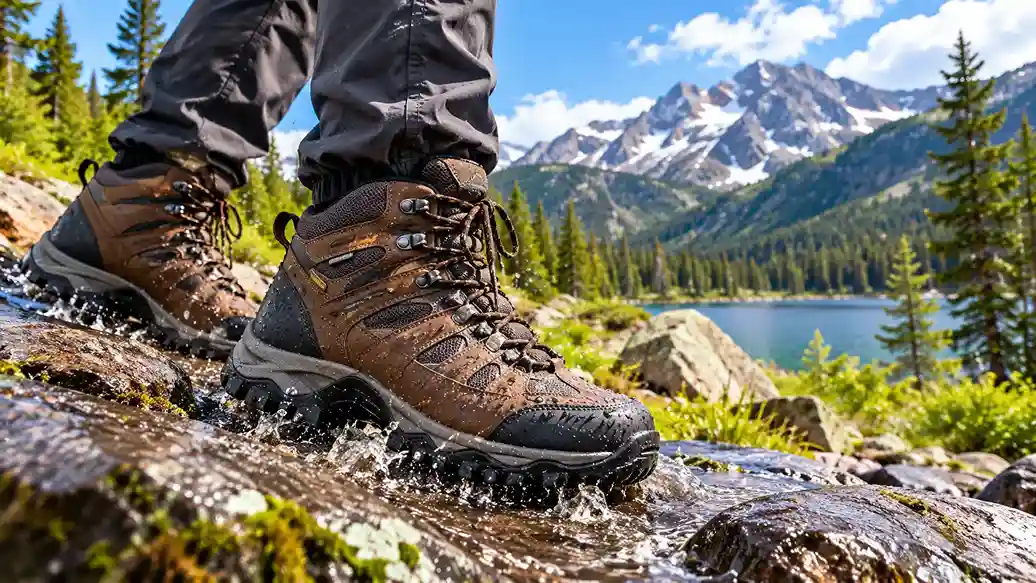
Hiking Boots Waterproof: 7 Proven Tips for Happy Feet on Any Trail
Few things end a good hike faster than cold, soggy socks. A creek crossing, a surprise rain shower, or a morning trail soaked with dew can turn a great day outdoors into a blister-filled slog. That is exactly why so many hikers search for hiking boots waterproof enough to handle real-world weather. But “waterproof” is not a magic word, and the wrong pair can leave your feet sweaty, heavy, and just as wet as before.
In this friendly, practical guide, you will learn how hiking boots waterproof models actually work, what trade-offs to expect, and how to pick, fit, break in, and care for your pair. You will also find a packing checklist, safety notes, a sample test-hike plan, and answers to common questions. Whether you are lacing up for your first state park loop or planning bigger adventures, this article will help you choose with confidence.
If you are still comparing boot styles in general, our companion guide on how to choose hiking boots is a great place to start before you narrow down to waterproof options.
Why Hiking Boots Waterproof Models Are Worth Considering
Not every hiker needs a waterproof boot, but many do. If you hike in the Pacific Northwest, the Appalachians, the Northeast in spring, or the Rockies during shoulder seasons, you will likely meet mud, wet grass, snowmelt, and stream crossings. In those conditions, hiking boots waterproof by design keep your feet drier for longer, and dry feet are warmer, more comfortable, and less prone to blisters.
Here are the biggest benefits:
- Drier feet in wet conditions. Rain, puddles, wet brush, and shallow stream edges are far less of a problem.
- Better warmth. Wet feet lose heat quickly, so a waterproof barrier helps in cool weather.
- Fewer blisters. Constant moisture softens skin and increases friction. Staying dry helps reduce hot spots.
- Longer season. With the right pair, you can keep hiking through muddy spring trails and cool, damp fall days.
- Extra protection. Most waterproof boots also have sturdy uppers that protect against sharp rocks, roots, and trail debris.
Still, a waterproof boot is a tool, not a cure-all. In hot, dry climates, a breathable non-waterproof boot or shoe may keep you more comfortable. The best hiking boots waterproof or not depend on where and when you hike.
How Hiking Boots Waterproof Technology Works
Understanding the basics will help you read product descriptions without getting lost in marketing language.
Waterproof Membranes
Most hiking boots waterproof models rely on a breathable membrane that sits between the outer material and the inner lining. The membrane has tiny pores that are small enough to block liquid water from getting in but large enough to let some water vapor (your sweat) escape. You will often see brand names such as Gore-Tex (sometimes shortened to “GTX” in the product name) or a brand’s own proprietary membrane. When shoppers look for hiking boots waterproof and breathable, this is usually the feature they are describing.
Treated Leather and Waterproof Uppers
Some boots rely on full-grain leather that has been treated to resist water. Leather is durable and long-lasting in many hiking boots waterproof designs, but it generally takes longer to dry once it gets soaked, and it usually needs more care. Synthetic uppers in hiking boots waterproof lines are often lighter and easier to break in, although they may wear out sooner than quality leather.
DWR Coatings
Many boots also use a durable water repellent (DWR) finish on the outside. This coating makes water bead up and roll off instead of soaking into the fabric. DWR wears down over time, which is why cleaning and reapplying a treatment matters. A boot can still have a working membrane inside and look soaked on the outside if the DWR has faded, so do not panic if the surface gets dark and wet.
Seams and Gussets
Water finds the weak points. Look for a gusseted tongue (attached to the sides of the boot) and well-sealed seams. A high-quality membrane will not help much if water pours in over the top of the boot, which brings up an important point covered in the safety section below.
The Trade-Offs of Hiking Boots Waterproof Designs
Before you buy, it helps to know the downsides so nothing surprises you on the trail.
Breathability and Sweat in Hiking Boots Waterproof Designs
Even the best membranes are not as breathable as an open mesh shoe. On hot days or during strenuous climbs, your feet can sweat faster than moisture can escape. If you are carrying a heavy pack in warm weather, this can leave your socks damp from the inside.
Drying Time
If water gets inside, whether from a deep crossing or from rain running down your leg, a waterproof boot can hold it in. Wet boots with a membrane can take a long time to dry. For this reason, many hikers carry a spare pair of socks and plan a way to dry gear at camp.
Weight and Stiffness
Hiking boots waterproof versions are usually heavier than trail runners because of their membranes and sturdy uppers. If you hike light and fast, you may prefer a lighter shoe. If you carry a bigger load or want ankle support on rugged ground, the extra weight can be worth it.
Cost
Prices for hiking boots waterproof models vary widely. Some outfitter guides cite a broad range of roughly $100 to $400 for new hiking boots depending on type, materials, and brand, and many mid-range picks land lower in that span. Prices change often, so check current listings and sales before you buy.
Hiking Boots Waterproof vs. Water-Resistant vs. Trail Runners
Shoppers often get confused by these labels, so here is a quick comparison.
Waterproof Boots
These hiking boots waterproof options have a membrane or treated construction designed to block water. Best for wet, cold, muddy, or snowy conditions, and for hikers who want support and protection.
Water-Resistant Footwear
Water-resistant shoes can handle light moisture, such as dew or a brief sprinkle, but they will not stay dry in sustained rain or puddles. They are lighter and usually more breathable.
Non-Waterproof Trail Runners
Many long-distance hikers choose breathable trail-running shoes because they dry quickly. They get wet fast, but they also dry fast. If your priority is speed and airflow, this is a legitimate choice, though it is a different philosophy than choosing hiking boots waterproof from the start.
A simple rule: if you expect lots of rain, cold, mud, or snow, lean toward waterproof. If you expect heat, deep stream crossings, or very long days where drying speed matters more, consider a breathable option.
7 Proven Tips for Choosing the Best Hiking Boots Waterproof for Your Trails
Here are seven practical tips to help you narrow down your options.
Tip 1: Match the Boot to Your Hike
When shopping for hiking boots waterproof for your needs, think about distance, terrain, and the weight you will carry. According to REI’s expert advice, day hiking boots are best suited to lighter loads, while heavier loads and rougher ground call for sturdier backpacking boots. For gentle trails, a low-cut waterproof hiking shoe may be all you need. For rocky or uneven routes, a mid-cut or high-cut boot offers more ankle support.
Tip 2: Choose the Right Height
- Low-cut shoes: Light and flexible, good for well-maintained trails.
- Mid-cut boots: A popular all-around choice for day hikes and light backpacking.
- High-cut boots: More support and protection for heavy packs and rough terrain.
If you want deeper puddle and mud protection from hiking boots waterproof options, taller boots generally keep more water out, as long as you do not wade above the collar.
Tip 3: Try Boots On Late in the Day
Your feet swell during the day, especially after activity. Trying on boots in the afternoon or evening helps you avoid buying a pair that is too small. Wear the same type of hiking socks you plan to use on the trail. This rule applies to any hiking boots waterproof model you consider.
Tip 4: Test the Fit Carefully
A good fit is the most important part of any boot purchase. A widely repeated guideline from experienced outfitters is that boots should feel snug everywhere, tight nowhere, with room to wiggle your toes. When you try them on:
- Lace them fully and walk around the store for several minutes.
- Walk up and down an incline if the store has a ramp.
- Check that your heel does not lift excessively.
- Make sure your toes do not hit the front when you step downhill.
- Try at least a few different brands, since each brand fits differently.
If you want more detail on sizing and fit, read our full guide on choosing hiking boots.
Tip 5: Consider Materials and Weight
Leather is tough and long-lasting but heavier and slower to dry. Synthetic materials are lighter and often more comfortable right out of the box. Both can work well in hiking boots waterproof configurations, so choose based on how you hike and how much maintenance you are willing to do.
Tip 6: Look at the Outsole
Check the tread pattern and rubber on any hiking boots waterproof candidate. Deep, well-spaced lugs grip mud and loose dirt better. If you hike on wet rock or slick roots, outsole traction matters just as much as waterproofing.
Tip 7: Set a Realistic Budget, Then Check Return Policies
Decide what you can comfortably spend on hiking boots waterproof models, then compare prices at several retailers. Check the return policy before you buy. Many shoppers like retailers that let you test boots at home on a clean indoor surface, but policies vary and change, so confirm the details with the store.
Step-by-Step: How to Break In Your New Boots
Even the best hiking boots waterproof models need time to mold to your feet. Never wear brand-new boots on a long hike.
- Start indoors. Wear them around the house for an hour or two with your hiking socks.
- Go for short walks. Take them around your neighborhood or on an easy local path.
- Add distance gradually. Increase your time and add a light pack as your feet adapt.
- Pay attention to hot spots. If you feel rubbing, stop and adjust your laces or add protection before a blister forms.
- Try different lacing. Heel-lock or skip-lace techniques can fix many pressure points.
- Finish with a real test hike. Use the sample plan later in this article to check comfort and water performance.
Leather boots typically take longer to break in than synthetic ones, so start earlier if you buy leather.
Step-by-Step: How to Care for Your Waterproof Boots
Good care keeps the waterproofing working. Without it, even excellent hiking boots waterproof on day one can start leaking in a season or two.
After Every Hike
- Remove the insoles and loosen the laces so the boots can air out.
- Knock off loose dirt and mud with a soft brush.
- Rinse with lukewarm water if they are very muddy.
- Let them dry naturally at room temperature.
Things to Avoid
- Do not place boots directly next to a campfire, heater, or radiator. High heat can damage adhesives, leather, and membranes.
- Do not use harsh detergents. Use a cleaner designed for footwear.
- Do not store boots wet in a closed bag or trunk.
Restoring Water Repellency
Proper care is what keeps hiking boots waterproof year after year. When water no longer beads on the surface, it is time to refresh the DWR or leather treatment. Follow the instructions from the boot manufacturer, because the right product depends on the material and membrane. Applying the wrong waterproofing product can reduce breathability or void a warranty, so check the care label first.
Storage
Store clean, dry boots in a cool, ventilated place away from direct sunlight. Stuffing them with newspaper can help absorb leftover moisture.
Safety Notes for Hiking in Wet Conditions
Hiking boots waterproof enough for rain can make wet hikes more comfortable, but they do not make them risk-free. Keep these points in mind:
- Wet surfaces are slippery. Rocks, roots, wooden bridges, and boardwalks can be treacherous when wet. Slow down and use trekking poles if you have them.
- Know your limits at stream crossings. If water is above the top of your boots, fast-moving, or murky, consider turning around. Never risk a dangerous crossing to keep a schedule.
- Cold feet are a warning sign. Numbness or persistent cold can be an early sign of trouble in cold weather. Stop, add layers, and change into dry socks.
- Check the forecast and trail conditions. Rain can create flooding, mud, or hazards that change quickly. Check with the official land manager (national park, state park, or forest office) for current alerts and closures.
- Tell someone your plan. Share your route and expected return time with a friend or family member.
- Carry the essentials. Bring water, food, a map, a light layer, a first-aid kit, and a headlamp, even on short hikes.
- Treat hot spots early. Moleskin or blister tape can stop a small rub from becoming a painful blister.
Plan to follow Leave No Trace principles on every trip, including staying on the trail through mud rather than widening the path. You can learn more from the Leave No Trace Center for Outdoor Ethics.
Packing and Planning Checklist for Hiking Boots Waterproof Trips
Use this list for your next wet-weather hike. Adjust it for the length and difficulty of your route.
Footwear and Clothing
- Hiking boots waterproof and already broken in
- Two or three pairs of moisture-wicking hiking socks (wool or synthetic)
- One spare pair of dry socks in a waterproof bag
- Gaiters (optional, helpful for mud, snow, and debris)
- Rain jacket and layers appropriate for the forecast
- Hat and gloves in cool weather
Gear and Safety
- Map or offline navigation, plus a backup
- Headlamp with extra batteries
- First-aid kit with blister care
- Water and a way to treat more if needed
- Snacks or meals with some extra
- Trekking poles (optional but useful on slick ground)
- Whistle and a small emergency layer
- Sunscreen and sunglasses, because weather can change
Planning
- Check the forecast the day before and the morning of your hike
- Confirm trail conditions and closures with the official source
- Share your plan with someone who is not coming along
- Know your turnaround time and stick to it
Sample Plan: A 3-Hour Test Hike for Your New Boots
Before a big trip, run a simple test hike to see how your hiking boots waterproof features perform. Choose a trail near you that is well-marked and not too remote. You can find ideas on our blog of hiking trails.
Before you go (evening before): Check the forecast and trail conditions, pack your gear, and lay out your boots and socks.
Hour 0 (trailhead): Do a final check. Lace your boots snugly and test the heel lock. Take a quick photo of your route so you have a backup.
Hour 0 to 1: Walk at an easy pace. Notice any rubbing, pressure, or pinching. Stop and adjust early if something feels off.
Hour 1 to 2: If the trail has a gentle climb and descent, pay attention to how your heel and toes behave. If you pass a puddle or damp patch, step through it carefully to see how the boot handles light water.
Hour 2 to 3: Return at a comfortable pace. When you finish, take off your boots and socks and check your feet. Look for red spots, damp socks, or sore areas.
After the hike: Clean and dry your boots as described above. Note what worked and what you want to change, such as sock thickness or lacing.
If your feet stayed comfortable and dry, you are in good shape for longer trips. If not, adjust the fit or consider a different model while you can still return them.
Common Mistakes to Avoid
- Buying only for the label. Hiking boots waterproof on paper can still fit badly. Fit always comes first.
- Skipping the break-in period. Many painful trips start with brand-new boots.
- Choosing the wrong socks. Cotton holds moisture. Choose wool or synthetic socks.
- Ignoring maintenance. Dirt and worn DWR reduce performance.
- Assuming hiking boots waterproof means indestructible. Deep water can pour in over the collar.
- Overheating your feet. In warm weather, a waterproof boot can feel hot. Consider ventilation, lighter socks, and breaks to air out your feet.
Frequently Asked Questions
Are hiking boots waterproof forever?
No. Waterproofing wears down with use, dirt, abrasion, and age. The membrane can last a long time if cared for, but the outer DWR finish needs periodic renewal. If your boots begin leaking even after cleaning and treating, the membrane or seams may be damaged and it may be time to consider replacement.
Do I really need hiking boots waterproof for summer?
Not always. In hot, dry weather, many hikers prefer breathable boots or trail shoes that stay cooler and dry fast. However, if you hike in areas with afternoon thunderstorms, wet vegetation, or stream crossings, hiking boots waterproof for those conditions can still be a smart choice. Think about your local climate and the type of trails you hike.
How can I tell if my boots are still waterproof?
Look for water beading on the surface after a rinse. If the material soaks up water and turns dark, the DWR needs attention. You can also test your boots on a short, wet walk, such as through dewy grass, and check for dampness inside. If your feet stay dry, the boots are probably performing well.
Are hiking boots waterproof or breathable shoes better for long-distance hiking?
It depends on your style and conditions. Waterproof boots shine in cold, wet, and muddy trips. Breathable shoes dry faster and are popular for warm weather and fast-and-light hiking. Many hikers choose based on climate, load, and personal comfort, so test both if you can.
How should hiking boots waterproof models fit?
Fit matters more than any feature of hiking boots waterproof or not. They should feel snug but not tight, with a secure heel and room for your toes to move. Try them on late in the day with the socks you plan to wear, and walk around for several minutes. If you want a step-by-step fitting guide, see our article on how to choose hiking boots.
What should I do if water gets inside my boots?
Stop when it is safe, remove the boots, wring out your socks, and put on dry ones if you carry a spare. Loosen the laces and, in camp, let the boots dry naturally away from direct heat. Avoid hiking long distances in wet socks, which raises the risk of blisters and cold feet.
Final Thoughts
The right pair of hiking boots waterproof for your climate and trails can make every outing more comfortable, from muddy local paths to damp mountain mornings. Keep these key ideas in mind when comparing hiking boots waterproof options: match the boot to your terrain, prioritize fit above all else, understand the trade-offs in breathability and drying time, break your boots in slowly, and care for them after every hike.
Before you buy, double-check current details such as prices, return policies, and product specs with the retailer or manufacturer, since these change often. For an additional expert perspective on fit and boot types, you can read REI’s guide to choosing hiking boots. When you are ready to put your new boots to the test, browse our hiking trail guides for your next adventure.